For today's session we were taught how to produce Pixel art and the techniques required to produce it in Photoshop.
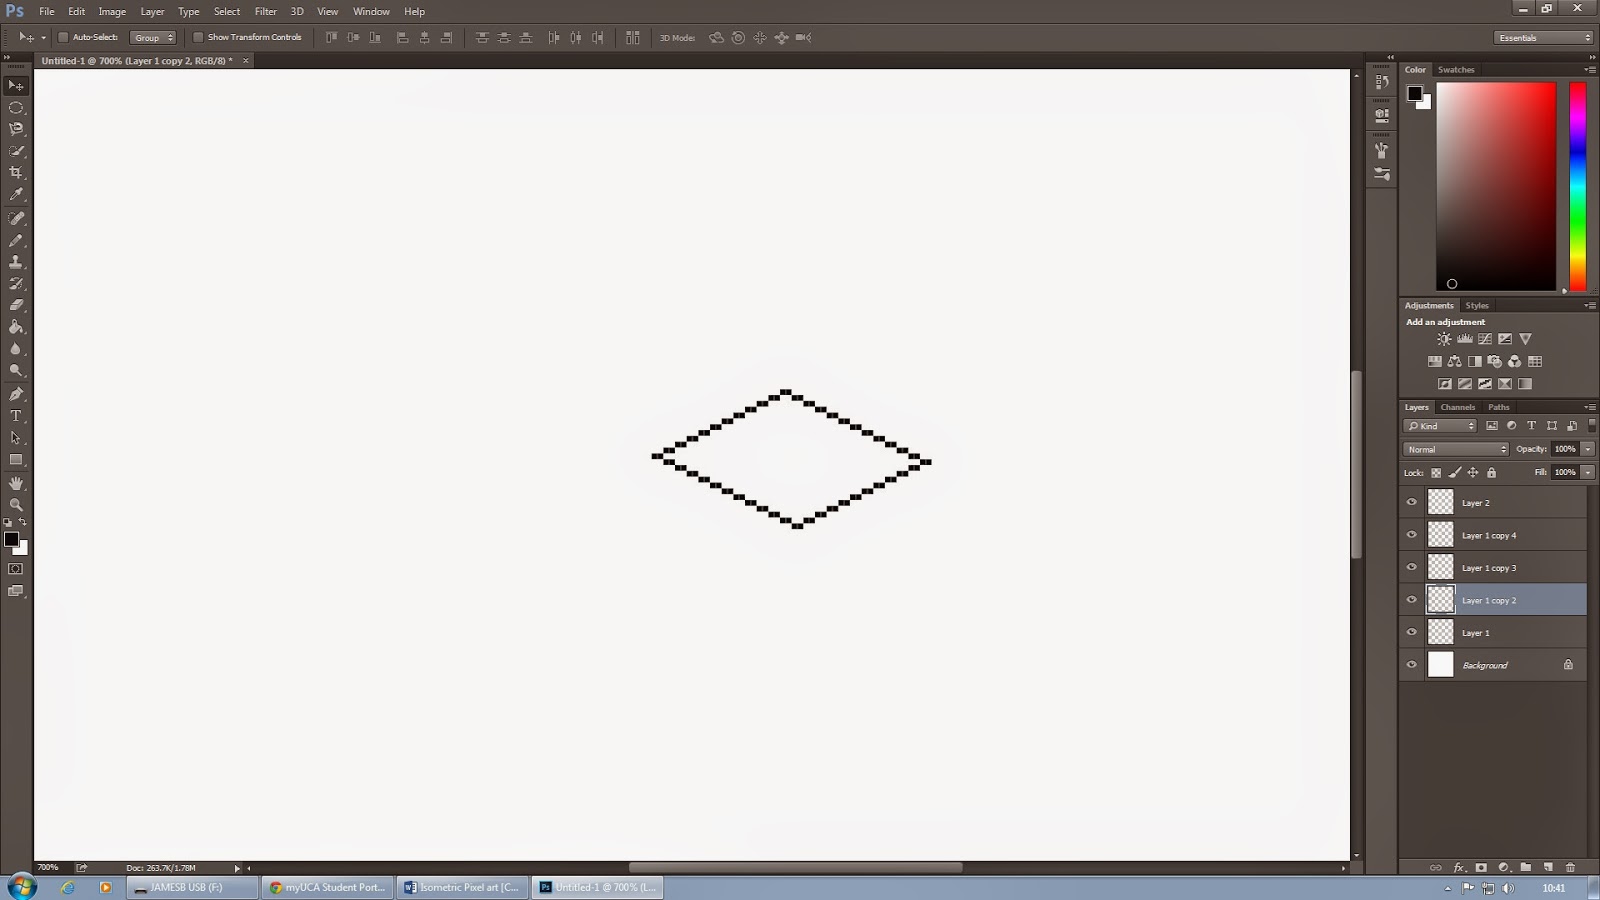
The size of our canvas was 300x300 pixels. this is because pixel art when loaded onto the internet have incredibly small file sizes so me must work in smaller scales. To start we drew a diagonal line of pixels (with the brush size set to a single pixel and anti-aliasing turned off) 2 pixels across and diagonally up 1 until we had made eleven 2 pixel pieces to create the illusion of line. We then duplicated the layer and rotated horizontally and vertically to create the 4 other lines to form a square.

Next we grouped the separate layers to together, duplicated the group and moved the duplicated square vertically and added in 3 lines for the corners to form a cube.

Next, using a different colour, we drew a circle in the square space we made so as to make a cylinder, this space would be the base of the Cylinder itself.

Like before with the cube we duplicated the layer with the new cylinder base and moved it up. After which we merged the layers and, using shift, created the cylinder's walls.


We were then tasked with making a fire hydrant replica of one from a screenshot we had been provided. To do this I placed the image into a new layer and dropped the opacity, this made it transparent and allowed me to work on top of the image so that I could draw the outlines appropriately.


Once drawn I began to paint the hydrant even matching the sample hydrant pixel for pixel, although I didn't manage to finish it during the lesson.
No comments:
Post a Comment