For the final session on the t-rex we were taught how to cut UV edges. First we selected the whole model and created a Planar map, once the planar map was set we began to cut.

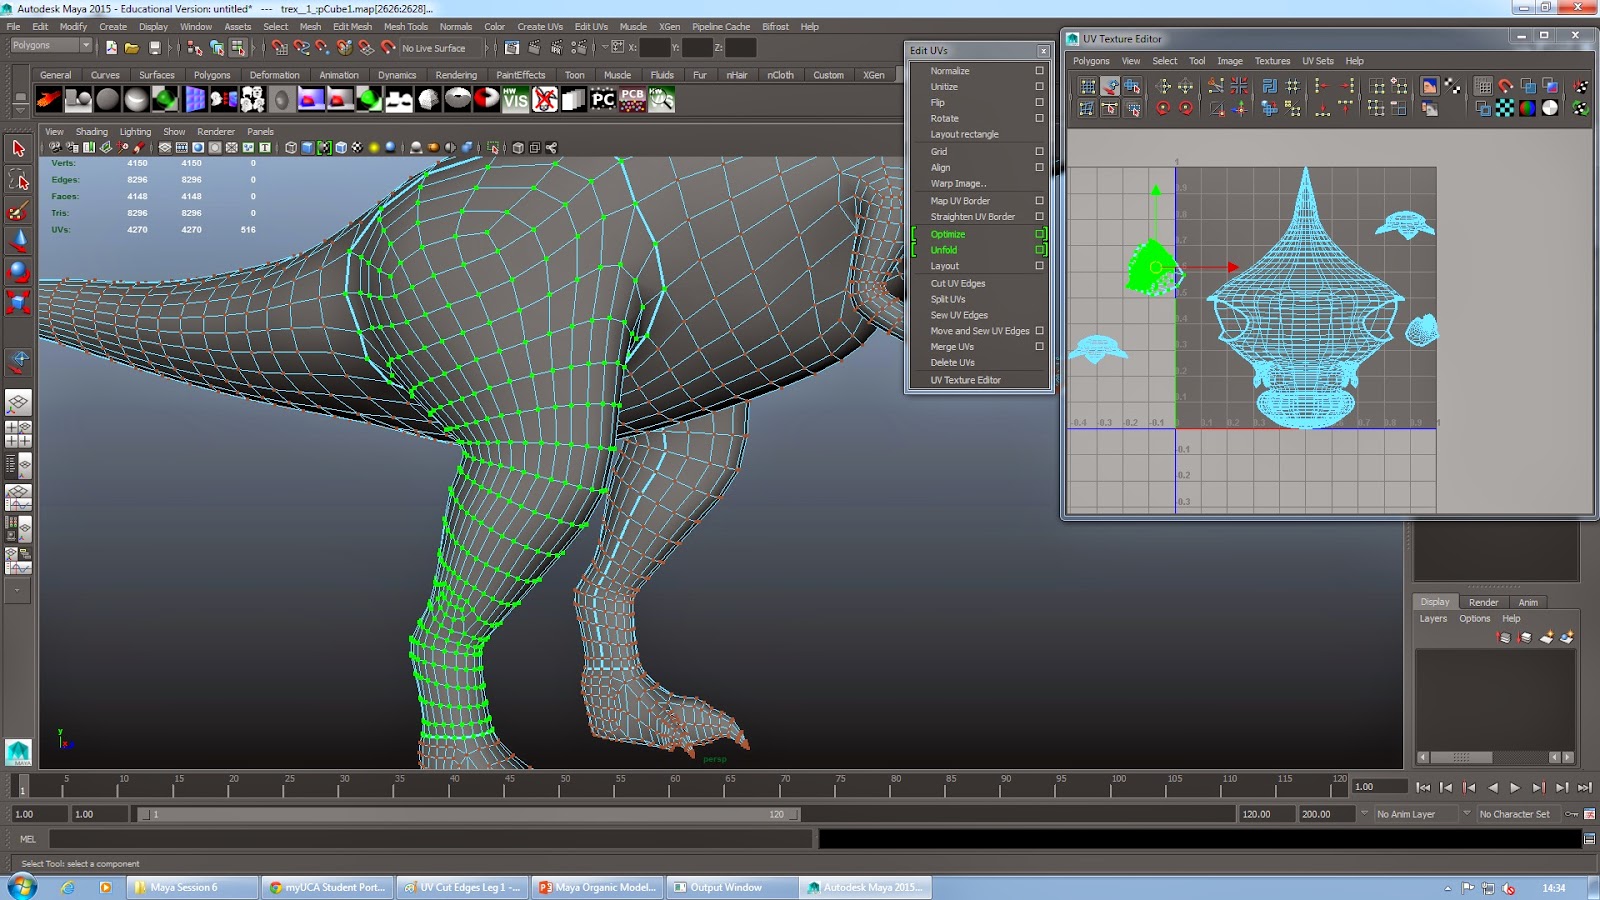
In this example we selected the edges around the top of the thigh, about where one would cut it off to leave a smooth curve behind, and used Edit UVs > Cut UV Edges Tool. After that we selected the edge loop around the ankle and again cut the UV edge. Finally we selected the middle edge loop on the inside of the leg and cut that.
With that done we selected the vertices on the leg and used the expand selection tool, this highlighted all the vertices within those cut edges and we could then go into the UV texture editor and create a Planar map of that leg, once made we could then unfold it to give us the UV texture map for that leg ready for painting in Photoshop.

We continued to so this for the rest of the body, separating the Tail, Head, Arms, Fingers, Toes, Legs and Body with the Cut UV Edges tool which made our model ready for texturing and prepared us for our assessment task.
No comments:
Post a Comment