For 1 of our 2 Winter submissions for the year 2015 we were tasked with creating and industry standard, high resolution model that would be rendered in the Unreal 4 engine. To do this we were given set goals to complete in a certain order; that order was to
1st. Create the high poly model
2nd. Create the low poly model
3rd. bake the high poly model onto the low poly model to texture through the texturing software known as Quixel.
We had 2 points of criteria to meet in choosing the object we wanted to model.
1st. the object needed to be made out of 2 distinct materials
2nd. our assessor needed an image of the object in real life so as to get an idea for the material type.
For this project I chose to challenge myself and decided to model Master Chief's helmet from the Halo franchise; I also did this to distinguish myself from others on my course as most had chosen to make a weapon of some description. Lucky for me I managed to find images of the officially licensed motorcycle helmet of Master Chief's helmet (figure's 1 + 1.2) and with some editing I managed to align a front and side view image of the helmet to a satisfactory level.

(Figure 1)

(Figure 1.2)

(Figure 2)
With the images aligned I imported the 2 images into the scene in Maya 2016 within the front view and right view (respectively). From here I believed the best way to go about creating the model was to use the Quad Draw tool to quite literally draw the contours of the edge loops onto the image and shape them appropriately so that once I had finished quad drawing I could simply pull the faces out of the plane I would eventually create and to form the overall shape.
This could have worked, if I had started pulling out the shape of the helmet from the start I may have been able to continue with this model to the end but the process I chose led to complications later on. As a learning experience I can make adjustments for when I next attempt this model.
For future reference to improve my workflow I would create this model through separate poly primitives, the visor I would make with a flat poly plain which I would then shape around the reference images and the bulk of the model would be made through cubes, ending with a circle (which I would cut in half) to model the back half of the helmet.

(Figure 3)

(Figure 4)
At this point I had finished Quad drawing the model but I only had the overall shape for the top half of the helmet so I needed to go back and add edge loops to configure shape into what I could see in the from reference image.
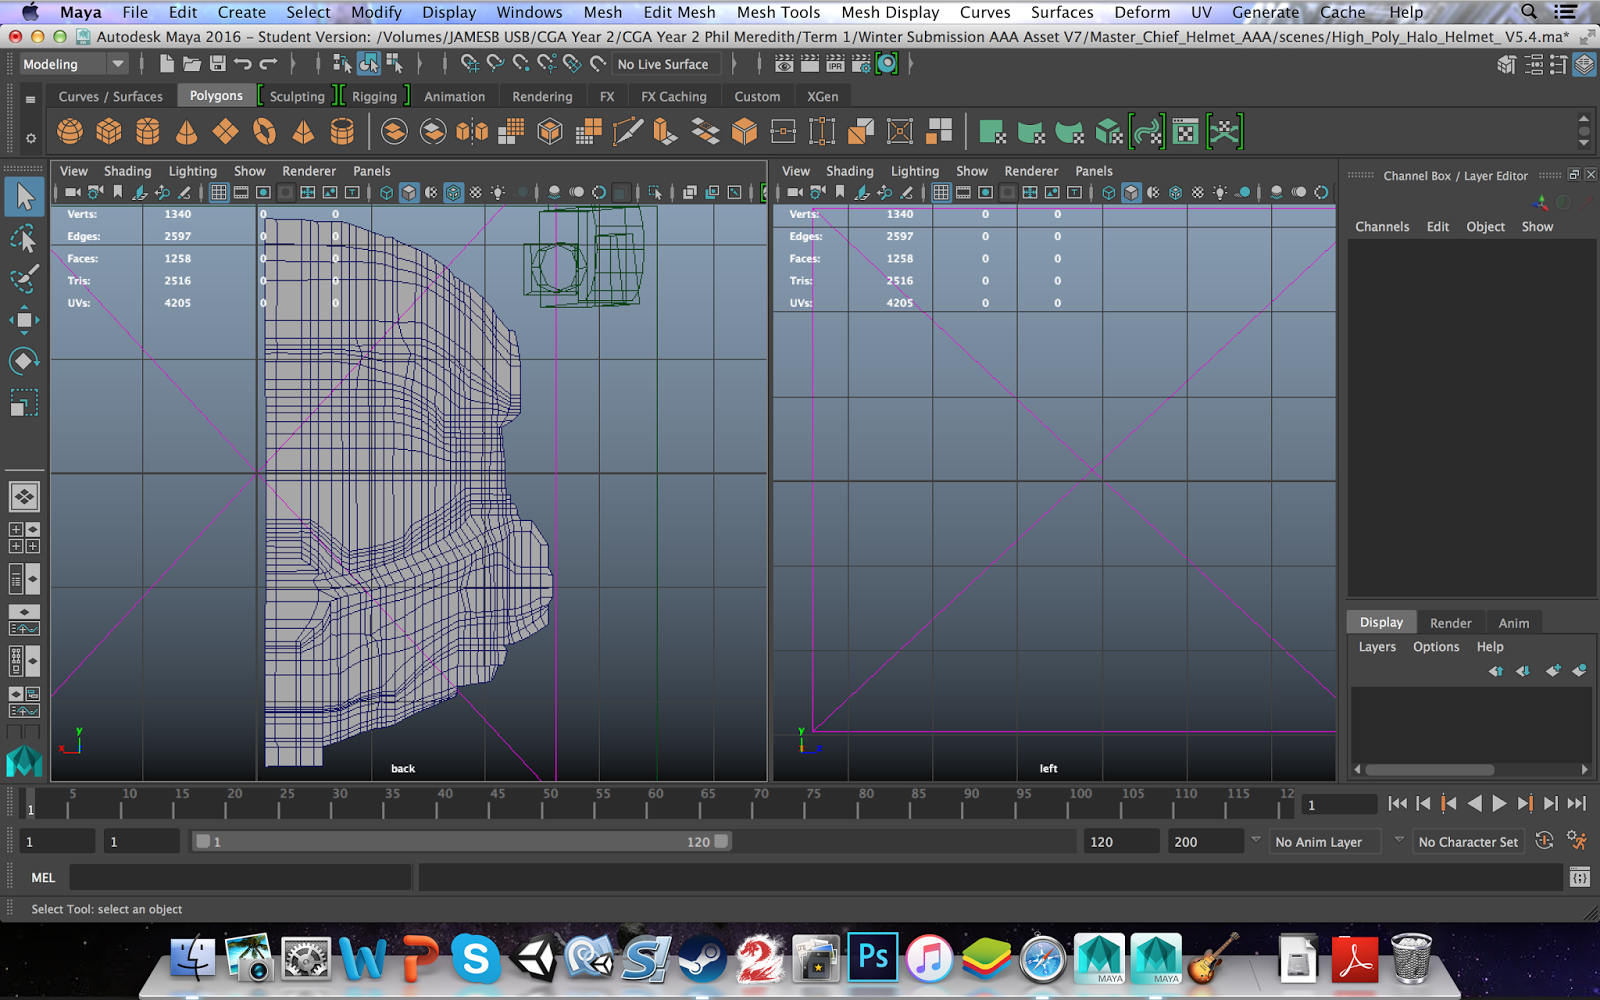
(Figure 5)
Having added the new edge loops I then moved the vert's into appropriate positions in accordance with the reference model so that I could begin pulling out the shape.

(Figure 6)
At this point it was pointed out to me that it would have been better, for myself and my workflow, for me to have started pulling out the shape of the helmet as I was using the Quad Draw tool. I chose to continue with what I had made due to the time it took me to get to this point, so to help start forming the shape I extracted the faces of the visor and using the soft select tool I began to pull rows of vert's to create the curvature of the visor.
The soft select tool allows me to manipulate objects with falloff. Falloff is the area around the selected components which will also be affected by any transforms I may make despite not selecting those components specifically. This allowed me to make a more uniform curve with the visor.

(Figure 7)
With the visor shaped out from the initial model I extracted the flat strip surrounding the visor. But due to the visor being moved out of it's initial position with modifications I needed to move the strip back into it's proper position around the visor. To do this I snapped the vert's of the strip to the corresponding vert's on the visor and in the side view straitened the edge loops of the strip to be vertical.

(Figure 8)
I continued to extract selected faces to pull them out of the model; however judging by the speed it was taking me to sort out the shape of this model, and with the back half still to make, I decided to speak to my assessor for this submission about changing the model I would make for the submission. He was ok with it once I found a reference image and an image of a real life version of the object. That process shall be documented in another blog post.
I was confident I could make this model but I knew I wasn't going to be able to complete the model in time for our first milestone, which was to have the high poly model finished.
To improve I would build this model different; I would start by making it low poly and adding edge loops to define the shape as I go along rather than make the model high poly right for the start and model from there. It's easier to model and low poly model into a high poly model than it is to reduce a high poly model to a low poly model.
No comments:
Post a Comment